
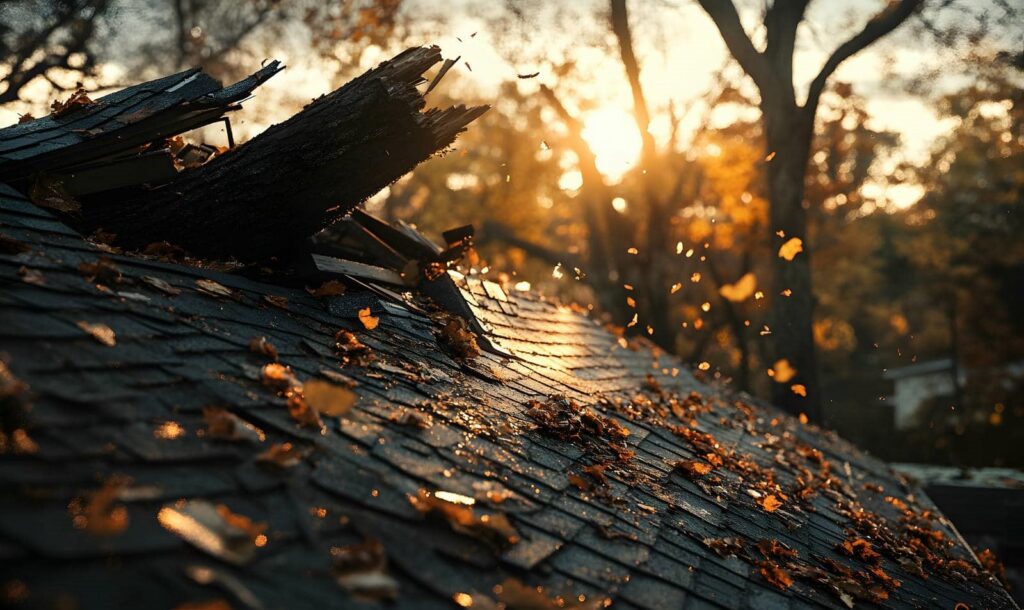
After storm water damage, you need to act fast, but not recklessly. You’ll want to stop the moisture source, remove standing water, and separate salvageable items from materials that are already compromised. Then you should dry structural surfaces, disinfect contaminated areas, and check hidden cavities for trapped moisture. Some materials won’t recover, and if you miss them, mold can spread quietly in ways that aren’t obvious yet.
Key Takeaways
- Prioritize safety by wearing gloves, goggles, and an N95 respirator before entering storm-damaged areas.
- Remove standing water quickly with pumps or wet vacs, and shut off power in affected zones first.
- Dry all surfaces fast using fans and dehumidifiers, and discard porous materials that stay wet.
- Clean and disinfect contaminated hard surfaces, following label contact times and proper ventilation.
- Inspect hidden cavities for trapped moisture or mold, then repair leaks and seal entry points to prevent recurrence.
What to Do After Storm Water Damage
After storm water damage, you should act quickly and methodically to limit further harm and reduce health risks.
First, guarantee everyone’s safety, then inspect affected areas with care and document visible damage with photos and notes. If conditions are safe, remove loose items that can dry separately and protect undamaged belongings.
Contact your insurer promptly to begin insurance claims, and keep receipts for emergency expenses. Notify your restoration team or trusted contractor so they can assess structural concerns and recommend next steps.
Good storm preparedness helps you respond without panic, but you still need to verify electrical and structural hazards before entering flooded spaces.
Stay connected with neighbors and local updates so you can coordinate support, share reliable information, and avoid unnecessary exposure.
Stop Moisture at the Source
You need to locate every water entry point, including roof edges, window frames, foundation cracks, and damaged flashing.
Inspect these areas methodically, because even a small gap can keep feeding moisture into the structure.
Once you find a leak, seal it promptly with the correct repair material so you can stop further intrusion.
Locate Water Entry
Start by tracing the water’s path to its entry point, because stopping moisture at the source prevents repeat damage and speeds drying.
You’ll inspect ceilings, walls, flooring, and trim for staining, swelling, and damp seams. Use a flashlight, moisture meter, and your senses to compare suspect water sources with dry areas.
Check around windows, doors, rooflines, crawlspaces, and foundation edges for entry points where stormwater may have bypassed barriers. Mark each wet zone, then map how the moisture spread so you can prioritize cleanup with your team.
If you work methodically, you’ll avoid missing hidden routes behind finishes and under materials.
Take photos, note dates, and keep your findings organized, because clear records help everyone in the space stay aligned and make informed next steps.
Seal Leaks Promptly
Once you’ve identified the entry point, seal it right away so the damage doesn’t spread further.
Use careful leak detection to confirm the source is closed before you clean or dry anything else. You’ll protect your space best by matching sealing techniques to the material: apply exterior-grade caulk for small gaps, replace damaged weatherstripping, and use hydraulic cement or patch compounds for cracks in masonry.
Tighten loose flashing, repair roof penetrations, and check window frames, because hidden moisture can keep feeding mold. Work methodically, and recheck the area after the next storm.
If you’re unsure, call a qualified professional so your home stays safe and your crew stays on the same page. Stopping water at the source helps everyone move forward with confidence.
Remove Standing Water Fast
Act quickly to remove standing water, because the longer it sits, the more it can saturate materials and spread damage. You should move with a clear plan, using water extraction methods that match the depth and surface type, and keeping your team aligned through emergency response planning.
Shut off power in affected zones before you start. Then pump, vacuum, or squeegee water toward a safe discharge point, checking hidden pockets along edges and low spots.
- Use submersible pumps for deep pools.
- Use wet vacuums for smaller areas.
- Open access points to improve flow.
- Monitor humidity while you work.
Work methodically, and don’t rush into soaked spaces without protective gear. When you act together and stay disciplined, you lower the chance of mold taking hold.
Sort What You Can Salvage
After the water is out, sort materials by what you can clean, dry, and keep versus what you need to discard.
Start with a furniture assessment: check structural integrity, swelling, stains, and hidden moisture in joints, cushions, and drawers. Keep only pieces you can disinfect and fully dry without trapping contamination.
Separate sentimental items next, because they often need quick, careful decisions. If an object is porous, laminated, or has been wet for long, mark it for disposal.
Bag small salvageable items together, label each group, and move them to a clean, dry area.
Wear gloves and a mask, and avoid mixing clean belongings with contaminated ones. You’re building a safer recovery path for your home and your people.
Dry Walls, Floors, and Framing
Move in with controlled airflow and a moisture meter to dry walls, floors, and framing before mold can take hold. You’ll want to track readings daily and adjust drying techniques as materials release hidden water.
Position fans to sweep across surfaces, and use dehumidifiers to pull moisture from the air. Keep baseboards, subfloors, and studs exposed when safe, so trapped dampness can escape. This careful routine supports mold prevention and helps your team stay steady through cleanup.
- Check moisture at several points, not just one
- Lift carpet edge or flooring only if it’s stable
- Open cavities where wet insulation has already been removed
- Keep indoor humidity low until readings normalize
Work methodically, document progress, and trust the process.
Remove Mold Safely and Thoroughly
Before you remove any mold, you should wear protective gear such as gloves, goggles, and an N95 respirator to limit exposure.
Contain the affected area with plastic sheeting and control airflow so you don’t spread spores to clean spaces.
Then clean contaminated surfaces with an appropriate disinfectant and dry them fully to reduce the chance of regrowth.
Wear Protective Gear
Protective gear is essential when you remove mold after storm water damage. You protect yourself best when you choose fitted protective equipment and follow safety precautions before you start. Wear gloves, goggles, and a respirator rated for mold particles so you can work with less exposure and greater confidence.
- Check that gloves seal at the wrist.
- Use goggles that block splashes and debris.
- Select a respirator with the correct filtration.
- Wear disposable coveralls and remove them carefully.
Inspect each item before use, and replace anything torn, damp, or cracked.
When you suit up correctly, you join a careful crew that works cleanly, methodically, and safely. Keep your gear on until the task ends, then wash exposed skin and store reusable items dry.
Contain Contaminated Areas
Once you’re geared up, isolate the contaminated space so mold spores don’t spread to clean areas. Close doors, seal gaps with plastic sheeting, and tape seams to create a controlled work zone.
Use contaminated area identification to map visible growth, wet materials, and any surfaces touched by floodwater. Mark boundaries clearly so everyone on your team knows where entry is restricted.
Turn off HVAC systems if they’d move air through the building. Keep tools, trash bags, and supplies inside the zone to limit cross-contamination.
These mold prevention strategies help protect adjacent rooms and support a safer cleanup process. When you work methodically, you reduce exposure, preserve unaffected spaces, and keep your remediation effort organized and dependable.
Clean And Dry Surfaces
With the work zone contained, you can start cleaning hard surfaces by removing loose debris, washing with detergent and water, and rinsing away residue.
Use a damp cloth, not a dry brush, so you don’t spread spores into the air. Keep surfaces wet briefly, then wipe them clean and inspect for staining or texture changes that may need surface treatment.
After washing, dry every area quickly with fans, dehumidifiers, or clean towels; moisture left behind slows mold prevention.
- Wear gloves, goggles, and an N95 respirator.
- Bag wipes and debris before you leave.
- Discard porous items that stay damp.
- Check hidden seams and edges for missed growth.
Disinfect Flood-Contaminated Surfaces
After floodwater recedes, disinfect every contaminated hard surface you can safely reach, because storm runoff can leave behind sewage, soil, chemicals, and pathogens.
You should first wash away visible grime, then apply one of the recommended disinfection methods, following label contact times exactly. Use a solution suited to the surface materials in your space, and test a small area if the finish is delicate.
Wear gloves, eye protection, and a respirator if fumes build. Work from cleaner zones toward dirtier ones so you don’t spread contamination. Rinse food-contact areas after disinfection if the product requires it.
Keep windows open and fans running for ventilation. If you’re unsure about a chemical, check the manufacturer’s guidance or ask a qualified cleanup professional for support.
Replace Materials That Won’t Recover
Some materials can’t be safely restored after storm damage, so you should remove and replace them rather than try to salvage them. You protect your home’s recovery by choosing replacement items that support a cleaner, safer reset. Document every loss carefully for insurance claims, then match new products to the damaged area’s use and exposure level.
Discard saturated drywall, insulation, and carpet padding.
Replace warped wood that won’t dry flat.
Choose mold resistant materials for future resilience.
Record materials, photos, and receipts before disposal.
Work methodically, wear proper protection, and keep the area isolated until replacements are ready.
If you stay organized, you’ll reduce repeat contamination and join other homeowners who rebuild with confidence and caution.
Check Hidden Mold in Wall Cavities
Even if you’ve already removed unsalvageable materials, moisture can stay trapped inside wall cavities and feed hidden mold growth. You should treat every damp wall as suspect and perform a careful wall cavity inspection before you close anything up.
Use mold detection techniques such as moisture meters, infrared imaging, and small access openings to verify whether framing, insulation, or sheathing remains wet. If you notice musty odor, staining, or elevated readings, document the location and extent so you can judge the risk with your team.
Keep your approach methodical: test, confirm, then decide. Don’t assume a dry surface means a dry cavity. In storm cleanup, you belong to a group that checks thoroughly, because hidden mold can keep spreading long after visible debris is gone.
Prevent Future Storm Water Mold Growth
Once you’ve removed wet materials and confirmed the cavities are dry, you should reduce the chance of new mold by restoring the building to a dry, controlled condition as quickly as possible.
You can protect your space with preventive measures that limit moisture return and keep the structure stable. Focus on humidity control, because elevated indoor moisture lets spores rebound fast after cleanup.
- Run dehumidifiers until readings stay below 50%.
- Repair roof, siding, and flashing leaks.
- Reinsulate and seal exposed framing carefully.
- Verify airflow with fans and open pathways.
Check damp-prone zones daily for condensation, staining, or odors.
If humidity rises again, act at once and document conditions. You’re protecting your home and your team by staying methodical, cautious, and consistent.
Frequently Asked Questions
How Soon Should I Test Indoor Air After Cleanup?
You should test indoor air 24 to 48 hours after cleanup, once surfaces dry and ventilation stabilizes. You’ll verify indoor air quality with post cleanup testing, then compare results before reoccupying spaces.
Can I Stay Home During Mold Remediation Work?
You can stay home only if containment’s secure and you follow mold safety precautions; otherwise, leave. That’s not coincidence, it’s caution. Protect your home air quality, and you’ll stay safer, together with everyone there.
Do I Need Professional Help for Small Mold Spots?
You don’t always need professional help for small mold spots, but you should assess moisture, use proper mold removal techniques, and follow DIY mold prevention steps. If growth spreads, smells persist, or health risks exist, call a pro.
What Insurance Documents Should I Save After Flooding?
Keep your flood insurance policy, photos, videos, repair estimates, receipts, adjuster notes, and claim forms; they’re as essential as a blueprint. You’ll strengthen damage claims, track losses, and help your community recover confidently.
How Do I Know if Mold Is Affecting My Health?
You may notice mold symptoms like coughing, sneezing, wheezing, headaches, or itchy eyes; if they worsen indoors, you’re likely exposed. These health risks warrant medical evaluation and home inspection, especially after dampness.
To Sum Up
By acting quickly, you reduce storm water damage and limit mold growth. You should stop the moisture source, remove standing water, and dry all affected materials completely. Then, disinfect contaminated surfaces, discard unsalvageable drywall or insulation, and inspect hidden cavities for trapped moisture. Keep humidity low and monitor vulnerable areas regularly. Recovery after flooding can feel like rebuilding a foundation after a crack; careful, methodical cleanup helps protect your property long term.