
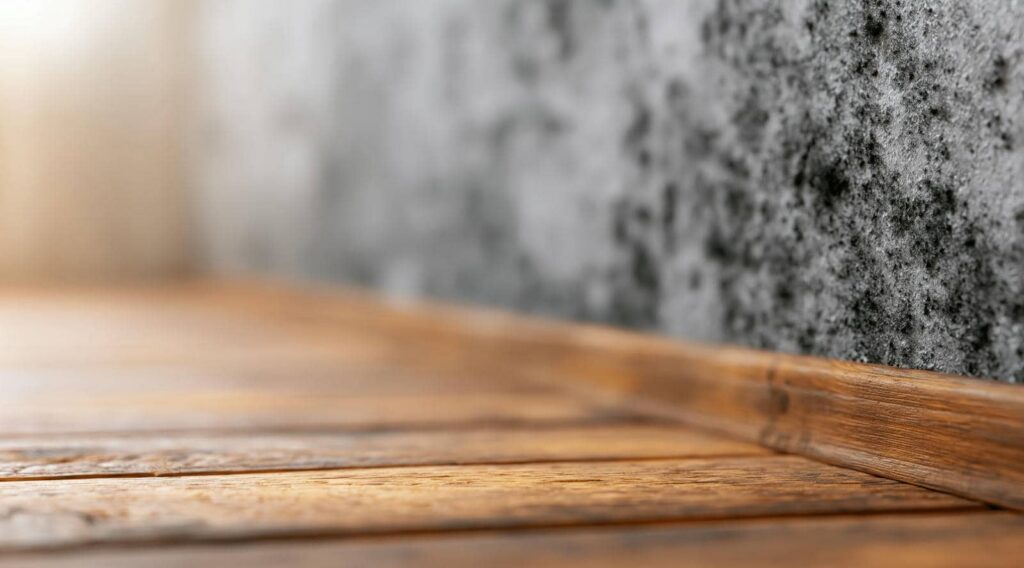
If water sits for even a few hours, it can turn a small leak into a structural and microbial problem. You need to stop the source first, then extract standing water, dry affected materials, and inspect for visible mold or hidden moisture. When conditions suggest growth, testing can confirm the extent and guide removal. The next steps determine whether you restore safely or chase recurring damage.
Key Takeaways
- Stop the water source first by shutting off valves, repairing leaks, and improving drainage.
- Extract standing water immediately using pumps or wet vacuums, then dry with fans and dehumidifiers.
- Inspect for mold signs like discoloration, musty odors, fuzzy growth, and moisture in baseboards or drywall seams.
- Remove and replace heavily damaged porous materials, and clean nonporous surfaces with HEPA vacuuming and detergent washing.
- Monitor humidity below 60% and reinspect weekly for 30 days to catch hidden moisture or recurring mold.
Stop the Water Source First
Before you start any water extraction, you need to stop the source of the leak or intrusion.
You should inspect the affected area methodically, tracing visible moisture, staining, and active flow to identify the entry point. Use leak detection tools if needed, especially where pipes, roofs, or appliances hide the problem.
Shut off the relevant valve, repair the damaged component, or isolate the source so water can’t keep entering. If surface runoff contributes, improve drainage solutions to redirect water away from the structure.
You belong to a team that protects the building by controlling the cause first, not chasing symptoms.
Once you’ve confirmed the source is stable, you can move forward with confidence and reduce the risk of repeated damage, hidden saturation, and mold growth.
Start Water Damage Extraction Right Away
Begin water extraction immediately after you stop the source to limit material saturation and secondary damage. You’re acting in an emergency response window, so move with purpose and document conditions before you disturb them.
Use pumps, wet vacuums, and suction tools to remove standing water from accessible areas. This first phase supports moisture control and reduces the load on structure and contents.
- Prioritize the deepest water pockets first.
- Work from the perimeter toward the center.
- Reassess as levels change.
You and your team stay aligned when you follow a clear sequence, because rapid extraction lowers the chance of hidden migration and keeps the site safer for inspection.
Focus on removal, measurement, and coordination, and don’t wait for visible worsening before you act.
Dry Floors, Walls, and Belongings
Once standing water is removed, you dry floors, walls, and belongings in a controlled sequence to stop residual moisture from migrating into cavities and porous materials.
First, you pull away wet rugs, paper goods, and textiles, then set them in a ventilated area with steady airflow.
Next, you open baseboards only where needed, and you position fans to move air across surfaces, not just into corners.
You monitor humidity and adjust dehumidifiers to keep moisture control tight and predictable.
For wood, metal, and hard goods, you wipe, lift, and rotate items so hidden areas can dry evenly.
This method reduces water damage, protects shared spaces, and helps your crew stay organized, informed, and confident throughout restoration.
Watch for Signs of Mold Growth
You should inspect surfaces for common mold indicators such as discoloration, musty odor, and visible fuzzy or speckled growth.
Check baseboards, drywall seams, under flooring, and inside cabinets for hidden moisture clues like staining, swelling, or recurring dampness.
If you find any of these signs, treat the area as contaminated and document it before you continue drying or remediation.
Common Mold Indicators
If moisture has lingered after water extraction, mold often announces itself through specific, measurable signs: visible growth on drywall, baseboards, or framing; discoloration that spreads in irregular patches; and a musty odor that persists even after surfaces dry.
You should document these indicators, because they help you separate common mold types and estimate health risks, before remediation begins.
Fuzzy or slimy colonies signal active colonization and demand prompt containment.
Staining that expands after cleaning suggests ongoing microbial activity.
Recurrent odor in enclosed rooms means you’re still dealing with contamination.
When you inspect together, you build a clearer picture and protect your shared space.
Trust consistent observation, not guesswork, and treat every confirmed sign as evidence that you need professional evaluation.
Hidden Moisture Clues
Where moisture hides, mold often follows, even when surfaces look dry. You should inspect baseboards, wall cavities, under sinks, and around HVAC lines for discoloration, warping, or a musty odor.
Use moisture detection tools to confirm elevated readings, especially near hidden leaks behind cabinets, beneath flooring, and inside attics. Check for peeling paint, soft drywall, rusted fasteners, and recurring condensation on cool surfaces.
If you notice these clues, document them, isolate the area, and improve ventilation while you investigate.
In a thorough water extraction and mold inspection process, you’re not just looking for visible growth; you’re verifying where water lingers. When you methodically trace each clue, you protect your space and help your team catch contamination early.
When Mold Inspection Is Necessary
You should schedule a mold inspection when you see visible mold growth, because surface colonies often indicate a larger moisture problem.
You should also inspect after water damage, even if the area looks dry, since hidden moisture can support mold growth behind walls, under flooring, and in insulation.
A prompt inspection helps you identify the extent of contamination and determine the needed remediation steps.
Visible Mold Growth
Visible mold growth usually means a mold inspection is necessary, especially after a water extraction event, because surface growth can indicate hidden moisture intrusion in wall cavities, subfloors, or insulation.
You shouldn’t treat it as cosmetic. Different mold types may spread at different rates, and each can carry distinct health risks for your household or team. A methodical inspection helps you confirm extent, moisture source, and exposure pathway.
- Note the size, color, and texture of each patch.
- Check adjacent materials for dampness, staining, or warping.
- Arrange professional sampling when the area seems active or recurring.
When you act quickly, you protect the space you share and support everyone’s confidence in it.
After Water Damage
After water damage, a mold inspection is necessary when materials stay damp for more than 24 to 48 hours, odors persist, or staining, swelling, and microbial growth appear on walls, floors, or contents.
You should begin emergency response immediately: stop the source, document conditions, and remove standing water.
Then assess hidden cavities, insulation, and subfloors, because moisture often lingers where you can’t see it.
If you’re filing insurance claims, preserve photos, receipts, and a timeline of drying efforts.
A qualified inspector can sample suspect areas, measure moisture, and identify contamination levels.
Acting quickly helps you protect your property, your health, and your place in a community that values safe, clean indoor spaces.
How Mold Testing Finds Hidden Growth
Mold testing helps locate hidden growth by measuring spores, surface contamination, and moisture conditions in areas that inspections can’t fully see. You use testing methods, such as air samples, surface swabs, and moisture mapping, to identify where mold spores concentrate and where materials stay damp. This gives you evidence, not guesswork, so you can act with confidence.
Air sampling shows whether indoor spore counts exceed expected background levels.
Surface sampling confirms contamination on dust, drywall, or framing.
Moisture readings reveal concealed conditions that support active growth.
Together, these results help you understand your home’s risk pattern and spot problem zones early. When you read the data carefully, you’re not alone; you’re making informed decisions with a clear, methodical process.
Remove Mold and Repair the Damage
Cut out contaminated materials, clean remaining surfaces, and dry the area completely so the growth can’t return.
You’ll then inspect framing, drywall, insulation, and subflooring for staining, soft spots, and odor.
Use approved mold removal techniques: HEPA vacuum loose debris, apply detergent wash, and scrub nonporous surfaces until no residue remains. Bag and dispose of porous items that stayed saturated too long.
Next, follow damage restoration tips by replacing removed sections with matched materials, sealing joints, and verifying structural integrity before finishing.
Work methodically, document each step, and keep your team aligned on scope and safety.
When you restore the space carefully, you protect the home and help everyone feel confident that the area is sound, clean, and ready for the next phase.
Prevent Mold After Water Mitigation
With the damaged materials removed and the area restored, you need to keep moisture from coming back so mold can’t reestablish itself.
In your post-mitigation care, verify that humidity stays below 60%, monitor hidden cavities, and run dehumidifiers until readings stabilize.
Your mold prevention strategies should include sealing leaks, improving ventilation, and inspecting drains after every storm.
Stay alert for musty odors, condensation, or soft spots, because they signal residual dampness.
To protect the space and keep your team confident, follow this sequence:
- Check moisture with a calibrated meter.
- Dry affected surfaces completely.
- Reinspect weekly for 30 days.
You belong in a dry, controlled environment, and disciplined follow-up helps you keep it that way.
Frequently Asked Questions
How Long Does Water Extraction Usually Take?
Water extraction usually takes 1-6 hours, depending on damage, materials, and access. You’ll see faster results when you act quickly; your drying time then drops too, helping you restore your space with confidence.
Can Insurance Cover Mold Inspection Costs?
Yes, your insurance can sometimes cover mold inspection costs; for example, after a pipe burst, your claim might include testing. You’ll need to check mold insurance terms and coverage limits, since policies often differ.
Is It Safe to Stay Home During Drying?
You can stay home during drying if air quality remains good and you’ve got no health concerns, but you should monitor humidity, odors, and symptoms closely, and leave if conditions worsen or equipment fails.
What Equipment Detects Hidden Moisture?
You’d use moisture meters and infrared cameras to detect hidden moisture. You can probe materials, map temperature differences, and confirm damp zones quickly, so you’ll fit in with a crew that works methodically and accurately.
How Often Should Mold Be Professionally Inspected?
You should inspect for mold professionally at least annually; after leaks, inspect sooner. Many homes face moisture issues, so your inspection frequency should track risk, limit mold growth, and protect your space.
Wrap-Up
In closing, you should stop the water source, extract standing water, and dry all affected surfaces without delay. Then you should inspect for mold, especially in concealed areas where moisture can linger like a seed beneath soil. If you detect growth, you should test, remove, and repair damaged materials promptly. Finally, you should monitor humidity and maintain dry conditions so you can prevent recurring contamination and protect the structure from further loss.