
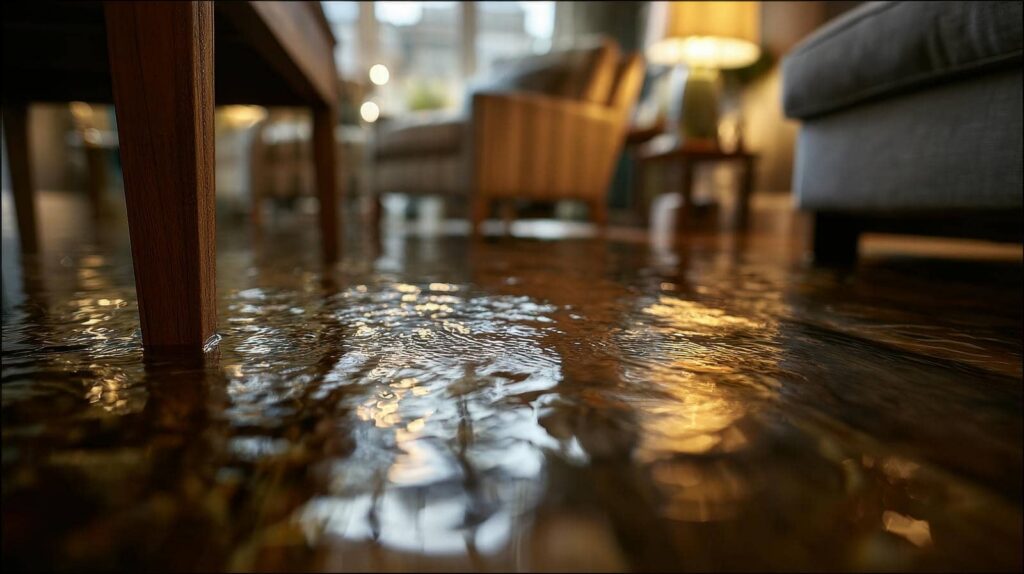
Flood Cleanup begins the moment floodwater enters your property, and acting quickly in the right order can help reduce long-term damage. You’ll first check for safety hazards, then remove standing water, dry hidden moisture, and strip out damaged materials before mold can spread. After that, you’ll disinfect affected surfaces and begin targeted repairs. Each step matters because missed moisture can cause longer-term damage you may not see yet.
Key Takeaways
- Turn off power if safe, document damage, and inspect for structural hazards before entering flooded areas.
- Remove standing water immediately using pumps or wet vacs, and track moisture levels after extraction.
- Dry affected spaces with fans, dehumidifiers, and ventilation, including hidden cavities and wall insulation.
- Remove unsalvageable drywall, insulation, and debris promptly, wearing protective gear to prevent mold spread.
- Disinfect hard surfaces, complete repairs carefully, and add waterproofing or flood-proofing for future protection.
Take These First Storm Water Damage Steps
Start by making the area safe and stopping further damage. Turn off power if you can do it safely, then follow safety protocols before you enter.
Document visible damage for insurance claims with clear photos and notes. Check storm preparedness items and emergency kits so your household stays ready for the next event.
Perform a quick property assessment to identify hazards, structural concerns, and salvageable items. Contact local resources for guidance, and don’t hesitate to ask for community support if you need help sorting priorities.
Avoid spreading contamination by limiting access to affected spaces. Then reach out to trusted restoration services for next-step planning, drying, and cleanup.
Stay calm, work methodically, and remember your community’s behind you.
Extract Water Right Away
You need to extract standing water right away to limit moisture absorption and reduce structural damage.
Use emergency water removal equipment as soon as it’s safe so you can slow mold growth and protect floors, walls, and contents.
Fast action now can prevent further damage and make the cleanup easier.
Emergency Water Removal
When floodwater enters a home, extract it immediately to limit structural damage and mold growth. You can act fast with pumps, wet vacs, or professional extraction crews. Stay focused, and remember your team isn’t alone in this. Use flood preparation habits and water safety checks before entering any room.
- Shut off power if water reaches outlets.
- Remove standing water from floors and carpets.
- Pump basements before moisture spreads upward.
- Squeegee residue from hard surfaces.
- Track moisture with meters after extraction.
Work room by room, and keep airflow moving only after extraction begins. Quick removal lowers cleanup costs and helps you regain control sooner.
If water keeps rising, call a restoration specialist right away.
Prevent Further Damage
Once floodwater enters, extract it right away to reduce structural damage and slow mold growth. You should shut off power, follow safety protocols, and wear protective gear before you step back inside.
Use pumps, wet vacs, and mops to support moisture control, then open windows only if conditions are safe. Check drainage systems, clear blockages, and place flood barriers where water may return.
Keep emergency kits handy so you can act fast without delay. Photograph losses for insurance claims, and contact restoration services when damage exceeds your crew’s capacity.
You’re not alone; rely on community resources for temporary shelter, cleanup support, and trusted referrals. Fast action limits repairs, protects your home, and helps your household recover with confidence.
Dry Walls, Floors, and Hidden Spaces
After the area is cleared and standing water is gone, start drying walls, floors, and hidden spaces right away to stop moisture from spreading and mold from forming. You can protect your space by controlling airflow and checking damp pockets.
- Use fans to move air across wet surfaces.
- Set dehumidifiers near closed rooms and hallways.
- Probe baseboards, trim, and wall insulation.
- Use moisture detection tools to confirm drying progress.
- Open access panels so hidden voids can breathe.
Keep monitoring until readings stabilize and materials feel dry. You’re not alone in this step; a steady, methodical approach helps your home recover safely.
If humidity stays high, extend drying time and recheck behind cabinets, under flooring edges, and inside wall cavities.
Remove Damaged Materials Before Mold Starts
Even with drying underway, you need to remove materials that can’t be salvaged before mold takes hold. You’ll protect your space by discarding soaked drywall, insulation, carpet padding, and warped particleboard quickly.
Separate salvageable items from unsafe ones, then bag debris for controlled material disposal. Wear gloves, boots, and a respirator if dust or spores may be present. Cut damaged sections cleanly so you don’t spread contamination, and keep a clear path for workers moving through the area.
Fast removal supports mold prevention and helps your home recover with less delay. If a material smells musty, crumbles, or stays damp after drying, treat it as a loss.
You’re not alone here; decisive cleanup keeps the environment safer for everyone involved.
Disinfect Surfaces After Cleanup
After cleanup, you should disinfect hard surfaces with a product that’s safe for the material and effective against flood contamination.
Focus on high-touch areas like doorknobs, switches, counters, and fixtures, since they can still harbor germs.
Follow the label’s contact time so the disinfectant can work fully before you wipe or rinse.
Choose Disinfectants Safely
How do you choose a disinfectant that’s both effective and safe? You can select among common disinfectant types by matching the label to the material and contamination level, then follow safety precautions exactly. You’re not alone in this step; many crews use the same checklist to reduce risk and improve results.
- Read the EPA registration number.
- Confirm the product is for flood cleanup.
- Check required contact time.
- Wear gloves and eye protection.
- Ventilate the area before use.
Mix only as directed, and never combine products. If a surface looks damaged, test first in a hidden spot.
Choose formulas with clear instructions, so you can work confidently and avoid chemical reactions. After application, let the surface stay wet for the full dwell time. This keeps your cleanup safe, controlled, and effective for everyone involved.
Clean High-Touch Surfaces
Once you’ve chosen a safe, effective disinfectant, use it on high-touch surfaces that people touch often, such as doorknobs, light switches, countertops, faucets, and railings.
You’ll help reduce contamination by following steady cleaning techniques: remove visible soil first, then wipe each area with fresh cloths or disposable wipes.
Match your method to the surface materials in your home, since wood, metal, plastic, and sealed stone can react differently. For textured or creviced surfaces, work the disinfectant into the edges with controlled pressure.
Keep your strokes one direction when possible so you don’t spread residue back onto clean areas. Focus on shared spaces first, then move room by room.
When you clean this way, you protect your household and restore a sense of order together.
Follow Proper Contact Time
Let the disinfectant stay wet on the surface for the full contact time listed on the label, because wiping it away too soon can reduce its effectiveness. You protect your space best when you respect timing importance and keep the solution in place long enough for contact effectiveness. Use a timer, not guesswork.
- Read the label before you start.
- Apply enough product to keep surfaces visibly wet.
- Reapply if the surface dries early.
- Ventilate the area while you wait.
- Wipe only after the required time passes.
You’re building a safer home with each careful step, and your crew’s diligence matters.
This simple pause helps disinfectants do their job, reduces lingering contamination, and supports a cleaner recovery you can trust together.
Repair and Restore Storm-Damaged Areas
After the water is gone, you can start repairing and restoring storm-damaged areas by documenting every affected surface, removing compromised materials, and drying the structure completely before making permanent repairs.
Check framing, insulation, drywall, flooring, and wiring for hidden damage. Replace any warped, swollen, or mold-prone components, and seal exposed edges to prevent future intrusion.
As you rebuild, use restoration strategies that match the original assembly and improve durability where possible. Apply storm proofing techniques such as upgraded flashing, reinforced sealants, and water-resistant finishes to reduce repeat losses.
Keep airflow steady, monitor moisture, and verify safe conditions before reoccupying rooms. You’re not doing this alone; each careful step helps your home recover stronger, cleaner, and ready to protect everyone inside.
Frequently Asked Questions
How Do I Document Flood Damage for Insurance Claims?
Photograph and video every damaged area, then list affected items with dates, values, and serial numbers. You’ll need a damage assessment, receipts, and repair estimates to support the claim process, and you’re not alone.
When Should I Call a Licensed Electrician After Flooding?
Call a licensed electrician immediately after flooding, before you restore power. Water turns your wiring into a sleeping storm, creating electrical hazards. For flood safety, you shouldn’t enter wet areas until they’ve inspected everything.
What Items Can Be Safely Salvaged After Flood Exposure?
You can safely salvage nonporous items like metal, glass, and hard plastic, plus thoroughly cleaned ceramics and sealed plastics. For salvaging personal items, discard flood damaged electronics unless a professional deems them repairable.
How Do I Prevent Sewage Contamination During Cleanup?
You prevent sewage contamination by treating floodwater as hazardous: wear gloves and boots, isolate damp zones, disinfect surfaces, and discard porous items. Sewage safety depends on contamination prevention, so you’re protecting your home and crew together.
What Permits Are Needed for Major Flood Repairs?
You’ll usually need a building permit, plus electrical, plumbing, or mechanical permits if you’re replacing systems. Check local building codes, apply before work starts, and include repair contracts so your project stays compliant and supported.
Recap
You take the first safety steps, extract water fast, and dry every wall, floor, and hidden space. You remove damaged materials before mold can spread, disinfect surfaces to reduce contamination, and repair storm-hit areas with care. You act quickly, you work methodically, and you restore confidence as you restore the structure. With the right process, you don’t just clean up flood damage—you protect long-term durability, support healthy living, and prepare for the next storm.