
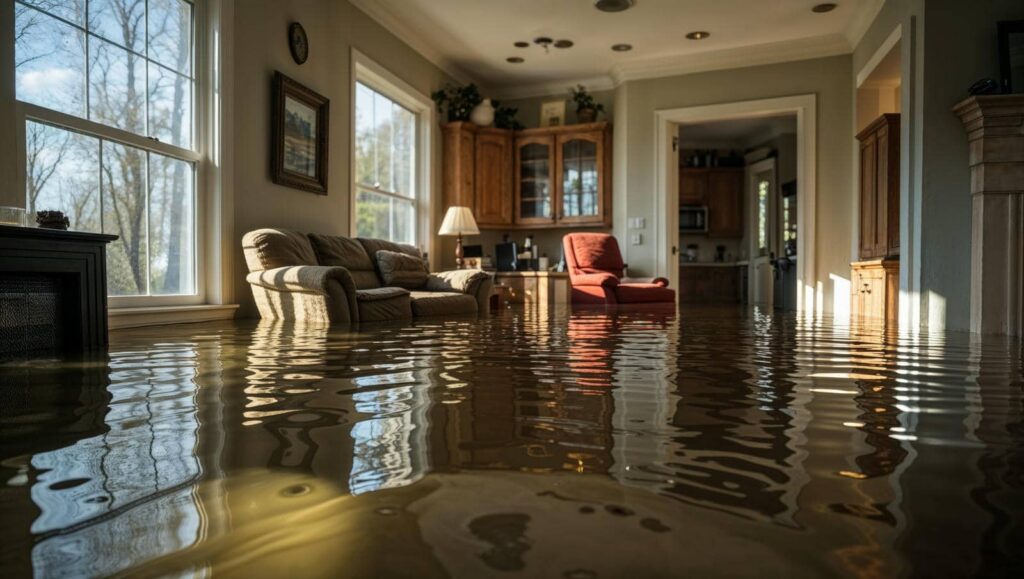
Flood Damage often involves more than what you can see, and cleanup starts with hidden moisture, not just visible water. You need to check the damage right away, shut off the water source if you can, and make the area safe before you move anything. Then remove standing water, dry surfaces quickly, and clean every affected area to limit mold growth and structural problems. The next steps matter more than you might expect.
Key Takeaways
- Assess safety first: stop the water source, avoid electrical hazards, and document visible damage for insurance.
- Remove standing water and debris quickly using pumps, wet vacs, gloves, boots, and masks.
- Dry the home thoroughly with fans, dehumidifiers, and moisture checks in hidden areas.
- Inspect for mold and structural damage, especially in concealed spots and load-bearing areas.
- Replace damaged drywall and insulation, then tape, compound, and sand repairs for a smooth finish.
Check Damage Right Away
As soon as it’s safe to enter, check the damage right away so you can limit further loss and start the restoration process.
Walk through each affected room and note visible signs of water intrusion, staining, warped materials, and damaged contents. Take clear photos and brief videos for your records, because they’ll help support insurance claims later.
Keep your safety precautions in place: wear protective gear, watch for slippery surfaces, and avoid touching anything unstable.
Make a list of what needs professional attention and what you can monitor. If you stay organized now, you’ll move faster, reduce confusion, and feel more in control.
You’re not handling this alone; careful documentation helps your whole recovery team work with you.
Stop the Water and Secure the Area
If water is still entering the space, shut off the source right away, whether that means closing the main supply valve, turning off a broken appliance, or contacting your utility company.
Then secure the area so you and your household stay safe. Turn off electricity only if you can reach the panel without crossing wet surfaces, and keep everyone out of unsafe rooms.
Use barriers, signs, or tape to mark hazards, especially for children, pets, and guests. Gather your emergency contacts, document what you see, and note any source of intrusion for later flood prevention.
Close windows and doors when possible, and confirm that all utilities are stable before anyone reenters. Taking these steps quickly helps your team feel prepared, connected, and ready for the next phase.
Remove Standing Water and Wet Debris
Once the area is safe to enter, start removing standing water as soon as possible to limit further damage and slow mold growth.
Use a sump pump, wet vac, or professional water extraction equipment, depending on the depth and volume. Work from the lowest point outward, and keep exits clear so you can move safely.
As you go, do steady debris removal: pull out soaked drywall scraps, carpet padding, insulation, and broken items that can trap moisture.
Wear gloves, boots, and a mask, and place waste in heavy-duty bags or bins.
If you’re working with others, coordinate tasks so nobody overlaps or misses hidden pockets of water.
You’ve got this; every bucket, bag, and pass helps your space recover faster.
Dry Walls, Floors, and Contents
Move in with drying equipment right away to reduce moisture before it spreads deeper into walls, floors, and belongings.
Place fans, dehumidifiers, and air movers to create strong airflow, and keep windows closed if outdoor humidity is high.
You’ll want to check wall cavities, subfloors, and baseboards for hidden dampness, since trapped water can linger after the surface feels dry.
Monitor progress with a meter and adjust placement daily for better moisture control.
Remove wet insulation if it won’t dry quickly, and plan for insulation replacement where materials stay saturated.
Elevate contents, separate items for faster drying, and space them so air can circulate.
Stay patient; steady drying protects your home and helps your household recover together.
Clean and Disinfect the Affected Areas
After floodwater has been removed and surfaces are dry enough to work on, clean all affected areas with soap and clean water to remove mud, residue, and organic debris.
Gather your cleaning supplies before you start so you can work steadily and safely. Scrub walls, floors, cabinets, and other hard surfaces with a brush or cloth, rinsing often to avoid spreading contamination.
Then apply approved disinfecting techniques according to the label directions, keeping the surface wet for the required contact time. Use clean buckets, fresh solution, and separate cloths for each zone.
Wear gloves and ventilation-friendly protection as you work. When you finish, dispose of dirty water and used materials properly.
You’re rebuilding a healthier space, and every careful step helps your home feel secure again.
Look for Mold Growth
Check for mold growth right away, especially in hidden spots like behind baseboards, under flooring, and inside wall cavities.
You may notice a musty odor, discoloration, or fuzzy patches even when surfaces look dry.
Inspect carefully with gloves and a mask, and stop if the area is large or the air feels contaminated so you can get safe help.
Hidden Mold Signs
Even when floodwater dries, hidden mold can keep spreading behind walls, under flooring, and inside insulation. You may notice a damp, earthy odor, stained drywall, warped trim, or paint bubbling after water exposure.
Soft spots in floors, recurring condensation, and a musty smell near vents often signal unseen growth. Different mold types can appear as black, green, white, or gray patches, but color alone isn’t enough to identify risk.
Focus on patterns: moisture, discoloration, and materials that stay wet too long. For mold prevention, dry affected areas quickly, replace soaked porous items, and keep indoor humidity low.
When you watch for these signs, you’re protecting your home and your household with confidence, and you’re not dealing with this alone.
Safe Mold Inspection
When you inspect for mold growth, start by protecting yourself with gloves, an N95 or similar respirator, and eye protection before you open walls or move damaged materials.
Then check porous materials, baseboards, insulation, and hidden corners for discoloration, musty odor, or dampness. You can use a flashlight and moisture meter to confirm problem areas without tearing into sound building materials.
If you see active growth, isolate the space, bag contaminated items, and improve ventilation to support indoor air quality.
Good mold prevention strategies include drying surfaces within 24 to 48 hours, fixing leaks, and keeping humidity low.
You’re not doing this alone; careful inspection helps your home recover safely and gives your household a cleaner, healthier space to rebuild together.
Begin Repairs and Restoration
Next, you’ll assess the structural damage so you can identify any weakened framing, compromised floors, or unsafe load-bearing areas before work begins.
Remove debris promptly to clear wet materials, reduce contamination, and make repairs easier to access.
Once the area’s stable and dry, you can start drywall repairs with proper replacement materials and sealing methods.
Assess Structural Damage
Before you begin repairs, you need to assess the flood’s structural impact so you can safely prioritize the work ahead.
Check load-bearing walls, floor joists, beams, and roof framing for bowing, cracking, or shifting. A careful structural integrity review helps you spot hidden weakness before it grows into a bigger problem.
Then complete a foundation assessment by looking for settlement, heaving, new gaps, or water-related erosion around footings and slab edges. If doors or windows suddenly stick, note it as a sign of movement.
Document every issue with photos and measurements so you can compare changes over time. If damage seems extensive, call a licensed structural engineer.
You’re not handling this alone; the right evaluation keeps your home, and everyone in it, on solid ground.
Remove Debris Promptly
Sweep out the damage fast so you can move repairs forward safely. You should sort wet contents, broken materials, and silt into separate piles, then use debris removal techniques that match the load, like shovels, contractor bags, and a utility cart.
Wear gloves, boots, and a mask to protect yourself from hidden contaminants. Work room by room so you don’t spread mud or damage farther. Photograph items before tossing anything, especially if insurance may apply.
Check local rules for debris disposal options, including curbside pickup, transfer stations, and special drop-off sites for hazardous waste. Keep pathways clear so your team can enter without risk.
When you remove debris promptly, you help your home feel manageable again, and you set a solid, organized pace for the restoration work ahead.
Start Drywall Repairs
Once the space is clean and dry, inspect the drywall for swelling, soft spots, staining, and crumbling edges so you can mark what needs to be cut out and replaced.
Use a utility knife to remove damaged sections back to solid material, then measure and match the new panels to the opening.
Choose drywall types based on location: standard board for dry rooms, moisture-resistant board for damp areas.
Gather reliable repair tools, including a saw, tape measure, screws, joint compound, and taping knife.
Fit the replacement piece, fasten it to framing, and tape the seams.
Apply thin coats of compound, sanding lightly between coats for a smooth finish.
If you work carefully, you’ll rebuild a solid wall and regain confidence in your home.
Frequently Asked Questions
How Do I Document Flood Damage for Insurance Claims?
Take clear photos and videos of every damaged area, list affected items with estimated values, and save receipts. Get a flood assessment, then submit records promptly to support your claim process and protect your coverage.
Can I Safely Stay in My Home During Restoration?
You can stay only if a professional home evaluation confirms flood safety. If utilities, mold, or structural damage remain, you shouldn’t. Follow posted barriers, use protective gear, and keep checking conditions with your restoration team.
What Items Should Be Thrown Away After Flooding?
You should throw away porous items like mattresses, insulation, drywall, carpeting, food, and cosmetics, since they trap contaminants. Keep salvageable items you can clean and dry quickly for mold prevention and safety.
How Long Does Flood Insurance Usually Take to Process?
You’ll usually see flood insurance timelines of 30–60 days, though it’s often faster. That theory holds when you submit photos, receipts, and estimates promptly. Use claims processing tips: stay organized, respond quickly, and you’ll feel supported.
When Should I Call a Professional Restoration Company?
Call a professional restoration company immediately after floodwater enters your home, especially if you’ve got contaminated water, hidden moisture, or damaged materials. Their emergency response helps stabilize conditions and improves your restoration timeline fast.
Conclusion
When you restore after flood damage, act fast and work methodically. Check damage right away, stop the water, remove wet debris, dry everything thoroughly, and disinfect all affected surfaces. For example, if a basement soaks up 2 inches of water, you’ll need to extract it, run dehumidifiers for days, and watch for mold. Then you can repair walls, floors, and finishes with confidence, knowing you’ve protected both your home and your health.