Like a captain steering through stormy seas, you might find yourself in the midst of a flood emergency, and knowing how to handle it can make all the difference. DIY methods for flood water removal empower you to take control and help you save on costly professional services. With the right tools and techniques, you can minimize damage and act quickly. But what do you need to know before you start?
Key Takeaways
- DIY methods are cost-effective, saving money on professional services while allowing homeowners to manage their own recovery process.
- Utilizing tools like wet/dry vacuums enables quick extraction of standing water, minimizing damage and preventing mold growth.
- DIY techniques empower individuals to take control of their space and customize their approach based on the extent of the flood damage.
- Creating airflow with fans and dehumidifiers accelerates drying, reducing moisture levels and further preventing mold and structural issues.
- Performing inspections for potential leaks during the removal process helps prevent future flooding and ensures long-term home safety.
What Do You Need to Know About Flood Water Removal?
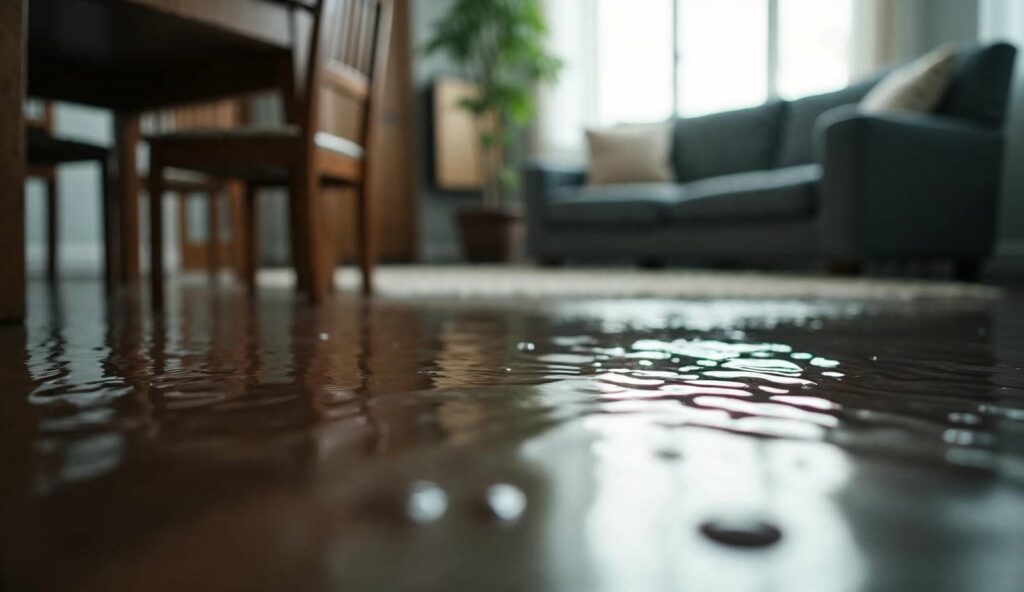
When faced with flood water, understanding the removal process is essential for minimizing damage and ensuring safety. Effective water extraction methods help in salvaging belongings and reduce the risk of mold and structural issues.
You’ll want to start by evaluating the extent of the flood damage; this will guide your approach. Utilize pumps or wet vacuums to remove standing water, ensuring you’re equipped with proper tools.
Remember to prioritize your safety; wear protective gear to avoid contaminants. Once you’ve extracted the water, thoroughly dry the area to prevent further issues.
Quick action can make a significant difference, so stay informed and proactive. The right techniques can empower you to tackle flood water effectively and reclaim your space.
What Safety Precautions Should You Take?
Before you start any flood water removal efforts, it’s crucial to prioritize safety to protect yourself from potential hazards.
First, wear personal protective equipment like gloves, boots, and masks to shield yourself from contaminants in the water. Make sure your clothing is durable and can withstand wet conditions.
Next, check for electrical safety; avoid standing water near electrical outlets, and turn off power to affected areas if possible. It’s wise to use battery-operated tools to minimize shock risks.
Finally, be cautious of structural damage in your home that could pose physical dangers.
Must-Have Tools for Flood Water Removal
To effectively tackle flood water removal, you’ll need a few essential tools that make the process more efficient and manageable.
Here’s what you should have on hand:
Sump pump: This will help you remove large volumes of water quickly.
Wet vac: Perfect for picking up residual water and debris, ensuring your space is clean.
Mop and bucket: For those hard-to-reach spots and finishing touches.
Rubber gloves: Protect your hands from contaminants while you work.
Dehumidifier: Important for reducing moisture levels and preventing mold growth.
With these tools, you’ll feel better prepared to handle the aftermath of flooding.
Each one plays a vital role in restoring your space to its former condition.
How Do I Remove Flood Water Step-by-Step?
Removing flood water effectively requires a systematic approach to confirm safety and thoroughness.
First, assess the area for hazards like electrical issues or structural damage. If it’s safe, turn off the electricity and gas supply.
Next, use a pump for water extraction, starting from the lowest point to prevent further flood damage. For smaller areas, a wet/dry vacuum can be helpful.
Once most of the water is removed, use fans and dehumidifiers to dry out the space thoroughly. Don’t forget to check for hidden pockets of water, as they can lead to mold growth.
Finally, clean and disinfect all surfaces to confirm a safe environment. Following these steps will help you effectively manage flood water removal.
How DIY Flood Removal Saves You Money
While hiring professionals for flood removal can be costly, tackling the job yourself can greatly reduce expenses. By utilizing DIY methods, you can access cost-effective solutions that fit your budget.
Here are some budget-friendly techniques to evaluate:
- Use a wet/dry vacuum to extract standing water quickly.
- Employ towels and mops to soak up excess moisture in smaller areas.
- Create airflow with fans to speed up drying.
- Utilize natural dehumidifiers like salt or baking soda to absorb humidity.
- Inspect your home for potential leaks to prevent future flooding.
These strategies save you money and empower you to take control of your space, fostering a sense of community and shared knowledge as you overcome challenges together.
Recap
Using DIY methods for flood water removal empowers you and saves you money in the long run. By taking immediate action, you can effectively mitigate damage and reclaim your space. Consider this: wouldn’t it feel rewarding to tackle such an unexpected crisis on your own? With the right tools and precautions, you can confidently handle flood water removal and protect your home from further harm.