
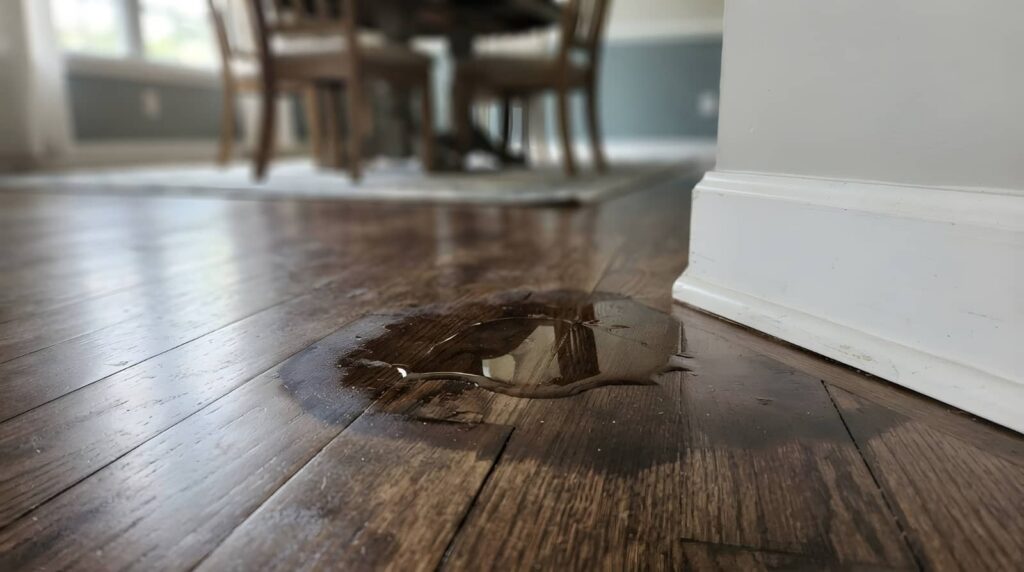
When a Burst Pipe causes water to flood your home, you need to shut off the main supply fast, document the damage, and start removing standing water before it spreads into walls and floors. Burst Pipe cleanup also involves drying the affected areas, checking for mold, and making the right repair decisions. However, hidden moisture is where the real trouble often starts, so thorough moisture detection and proper drying are essential to prevent further damage.
Key Takeaways
- Shut off the main water supply immediately and briefly open a faucet to relieve pressure.
- Document all damage with photos and keep repair receipts for insurance claims.
- Remove standing water, wet rugs, and damaged items; use fans and dehumidifiers to dry the area.
- Check for hidden moisture, mold, warped materials, and safety hazards like wet electrical areas.
- Call a licensed plumber or water damage professional if the leak is severe or moisture remains.
Stop the Water at the Main
If water is still flowing, shut off the main water supply immediately to limit further damage.
Find your main valve location now, not later; in most homes, it’s near the meter, basement wall, or utility entry. Turn the valve clockwise until it stops. If it’s stiff, use emergency tools like adjustable pliers, but don’t force brittle parts.
If you live with others, tell everyone what you’re doing so they can stay clear and help if needed.
Once the line is closed, open a nearby faucet briefly to relieve pressure, then close it again.
Keep a flashlight and the valve key in one place for future emergencies.
You’re doing the right thing by acting fast and calmly; that keeps you and your household in control.
Protect Your Home From More Damage
Now that the water is off, move quickly to limit secondary damage. You should open windows, run fans, and use dehumidifiers to lower moisture in affected rooms.
Pull up wet rugs, lift furniture legs onto blocks, and move electronics, paper goods, and soft items to a dry space. If ceiling drywall sags, keep clear of the area and support the room below with caution.
Shut off electricity to wet circuits only if you can do so safely. Wear gloves, boots, and a mask when you handle damp materials.
Start your emergency kit: flashlights, batteries, towels, plastic sheeting, and a utility knife. These preventive measures help you protect the structure, reduce mold risk, and stay in control until help arrives.
Take Photos for Your Insurance Claim
Take clear photos of every affected area, including walls, floors, ceilings, furniture, and the pipe break itself.
Capture wide shots and close-ups so your insurer can see the full extent of the damage.
Keep all repair receipts and related documents, since they help prove your losses and support your claim.
Photograph Damage Thoroughly
Before you clean up or move damaged items, document everything with clear photos and video for your insurance claim. Start wide, then move in close so you capture the room, the leak source, and every affected surface.
Include ceilings, walls, floors, furniture, electronics, and hidden areas under rugs or cabinets. Use timestamps if your phone allows it, and keep images in order for insurance documentation.
Shoot from several angles so the damage assessment shows scale, depth, and spread. If water reached adjacent rooms, photograph those too.
Don’t delete blurry shots until you’ve backed up everything. You’re building a record your adjuster can trust, and thorough images help your claim move faster.
Stay methodical, and you’ll protect your space and your peace of mind.
Capture Repair Receipts
After you document the damage, start saving proof of every repair-related expense. Keep every receipt for plumbers, drying equipment, materials, and emergency services.
Photograph each receipt right away, especially if paper copies might fade or get lost. Use one folder for repair documentation and label files by date, vendor, and job type so your insurance adjuster can follow the trail.
Add a short note to each image with what you bought and why it mattered. Track totals in a simple spreadsheet for accurate expense tracking and faster reimbursement.
If you pay by card, save the statement line too. Stay organized, because you’re not handling this alone; clear records help your claim move smoothly and give you confidence when the paperwork starts piling up.
Remove Standing Water Safely
Start removing standing water as soon as you can, but do so with caution to avoid shock, slips, and further damage.
Before you begin water extraction, shut off power to wet areas if you can reach the breaker safely. Wear rubber boots, gloves, and eye protection, and keep cords and tools away from puddles.
Use a wet/dry vacuum, mop, or pump, depending on the volume. Work from the edges toward the center so you don’t spread water. Move furniture and loose items to dry ground as you clear the area.
Follow basic safety precautions at every step, and stay alert for hidden hazards under rugs or debris. If water keeps returning, stop and call a licensed professional for help.
Dry Walls, Floors, and Hidden Spaces
You need to dry wall cavities as soon as possible, since trapped moisture can keep damaging framing and insulation.
Remove baseboards, open access points, and use fans and dehumidifiers to move air through hidden spaces.
Dry floors thoroughly, including under trim and any lifted sections, to reduce the risk of mold and swelling.
Dry Wall Cavities
Hidden moisture can linger in wall cavities, floor assemblies, and other concealed spaces long after surface water is gone, so you need to inspect these areas quickly and dry them thoroughly.
Start with a moisture assessment using a meter and visual checks around baseboards, outlets, and trim. If readings stay elevated, open small access points to verify the cavity, then run targeted air movement and dehumidification.
Check insulation considerations: wet fiberglass can hold water and slow drying, while soaked cellulose often needs removal.
Keep affected rooms isolated, and monitor materials daily until readings return to normal.
You’re not handling this alone—use a methodical approach, document changes, and stay alert for odors, swelling, or discoloration that signal hidden damage.
Dry Floors Thoroughly
Pull up standing water from floors immediately and give priority to subfloors, underlayment, and seams where moisture can persist.
Remove rugs, baseboards, and furniture so air can reach every damp layer.
Use fans and dehumidifiers together, and keep windows open only if outside air is drier; these ventilation techniques speed evaporation without spreading humidity.
Check hidden spaces with moisture detection tools, including corners, thresholds, and floor penetrations.
If you find swelling, soft spots, or musty odor, keep drying until readings return to normal.
Protect your home like a team would: work methodically, document progress, and don’t rush repairs.
Dry floors thoroughly now, and you’ll lower the chance of warped flooring, mold growth, and costly structural damage later.
Check for Mold Growth
Even after the water stops, mold can begin growing within 24 to 48 hours, so inspect all wet materials right away.
Check baseboards, drywall, insulation, carpets, and hidden corners for discoloration, musty odor, or fuzzy patches. Common mold types include black, green, and white growth, and each signals trapped moisture that needs attention.
If you spot growth, isolate the area and avoid stirring spores into the air. Use gloves and an N95 mask when you’re close.
Take clear photos and notes so you can track spread and share details with your insurer or remediation team.
For prevention tips, keep humidity low, run fans and dehumidifiers, and monitor damp spots daily until everything stays dry.
Repair Pipes and Restore Surfaces
Once the area is dry and documented, call a licensed plumber to find and repair the broken pipe, joint, or fixture that caused the leak.
You’ll want matching pipe materials so the fix handles pressure, corrosion, and temperature changes without creating new weak points. The plumber can cut out damaged sections, replace fittings, and test the line before closing walls or floors.
After that, you can begin restoration techniques on nearby surfaces. Remove warped drywall, swollen trim, and compromised insulation, then install new materials that match the original assembly.
Use moisture-safe primers, sealants, and finishes where needed. Keep the work area ventilated and monitor it for fresh stains or odors. This helps your home return to normal and keeps your repair team on the same page.
When to Call a Water Damage Pro
If water has soaked into drywall, subflooring, insulation, or cabinetry, call a water damage professional to assess hidden moisture and stop secondary damage.
You should also reach out if you smell mildew, see staining, or notice warped materials after the pipe’s fixed. A pro uses moisture meters, thermal imaging, and drying equipment to map the affected area and verify what you can’t see.
That matters because trapped moisture can spread fast and raise repair costs. If the leak was large, involved contaminated water, or ran for hours, don’t wait.
Prompt restoration services help protect your home, your air quality, and your sense of control. You’re not overreacting; you’re taking the right step with your team.
Frequently Asked Questions
How Can I Tell if My Water Heater Was Damaged?
Check for water heater signs like leaks, rust, odd noises, or no hot water. Use inspection tips: inspect the tank, valve, and connections, then shut power off and call a licensed plumber if you’re unsure.
Should I Keep Using My Insurance-Covered Damaged Appliances?
No, you shouldn’t keep using them until you verify damaged appliance safety and follow your insurance policy guidelines. A busted appliance can act like a tiny disaster machine, so unplug it, document damage, and wait for inspection.
How Soon Can I Turn the Water Back On?
You can turn it back on once you’ve shut the leak, dried the area, and completed a pipe inspection. Restore water slowly, then watch water pressure for drops, noise, or fresh leaks before you trust it.
Can I File a Claim for Food Spoiled by the Leak?
Yes, you can often file a claim for spoiled food; your insurer’s glorious bureaucracy may even approve it. Check your insurance coverage, document losses, and start the claim process quickly so you can belong in the reimbursed.
Do I Need a Plumber Before Contacting My Insurer?
No, you don’t need a plumber first, but you should call your insurer immediately and document damage. If you need emergency repairs, save plumber costs receipts; they’ll help you substantiate your claim and feel supported.
Recap
When a pipe bursts, act fast: shut off the main water, protect your belongings, and document the damage for your claim. Remove standing water, dry the area thoroughly, and check for mold within 24 to 48 hours. Don’t ignore hidden moisture, because an ounce of prevention is worth a pound of cure. If the damage is extensive, call a water damage pro to find leaks, restore materials, and keep your home safe.